How to Install Jenny Mod on Mac: Step-by-Step Guide
You can install Jenny Mod on Mac in under 10 minutes with the right tools. This tutorial shows how to install Jenny Mod on Mac from scratch using the Java Edition of Minecraft. Follow each step carefully to avoid crashes or corrupted files.
Requirements Before You Begin
Before you install Jenny Mod on Mac, you must:
Use Minecraft Java Edition (Mac doesn’t support PE natively).
Have Java 17 or newer installed.
Install Forge or Fabric mod loader.
Allocate enough RAM in the Minecraft launcher.
Check the how to install a mod in Minecraft tutorial if you’ve never used mods before.
Step 1: Download Minecraft Java Edition
To install Jenny Mod on Mac, your Minecraft version must be compatible. Use version 1.12.2 or 1.16.5. Newer versions may not work with older mod files.
Open Minecraft Launcher.
Create a new installation with version 1.12.2.
Save and play once to generate folders.
Step 2: Install Forge Mod Loader
Forge is required to install Jenny Mod on Mac. Download it from the official site:
Visit files.minecraftforge.net.
Download the installer for 1.12.2.
Run the installer using Java.
Select “Install client.”
Once done, launch the game using the Forge profile to complete the setup.
Step 3: Download Jenny Mod Files
You’ll need the original Jenny Mod .jar file. Make sure to:
Avoid fake downloads from YouTube comments.
Use a trusted source.
Want more related content? See the Ultimate Guide to Jenny Mod Rule 34.
Step 4: Place Mod in the Mods Folder
To install Jenny Mod on Mac, place the .jar file into your mods directory:
Press
Command + Shift + G.Enter:
~/Library/Application Support/minecraft.Find or create a
modsfolder.Paste the mod file here.
Restart the launcher and select the Forge profile again.
Step 5: Run and Test the Mod
Launch Minecraft. If installed correctly, Jenny will appear under custom NPCs or spawn eggs in Creative mode.
Check for errors in the logs if the game crashes.
Want more adult-style mods? Explore Minecraft Jennys Mod Uncensored.
Fix Common Errors When You Install Jenny Mod on Mac
Black screen or crash: Your Jenny Mod file might be outdated or corrupted.
Forge not loading: You installed it for the wrong version.
Jenny not spawning: Check mod compatibility with other installed files.
If you’re looking to install the mobile version instead, follow the how to install Jenny Mod for Minecraft PE.
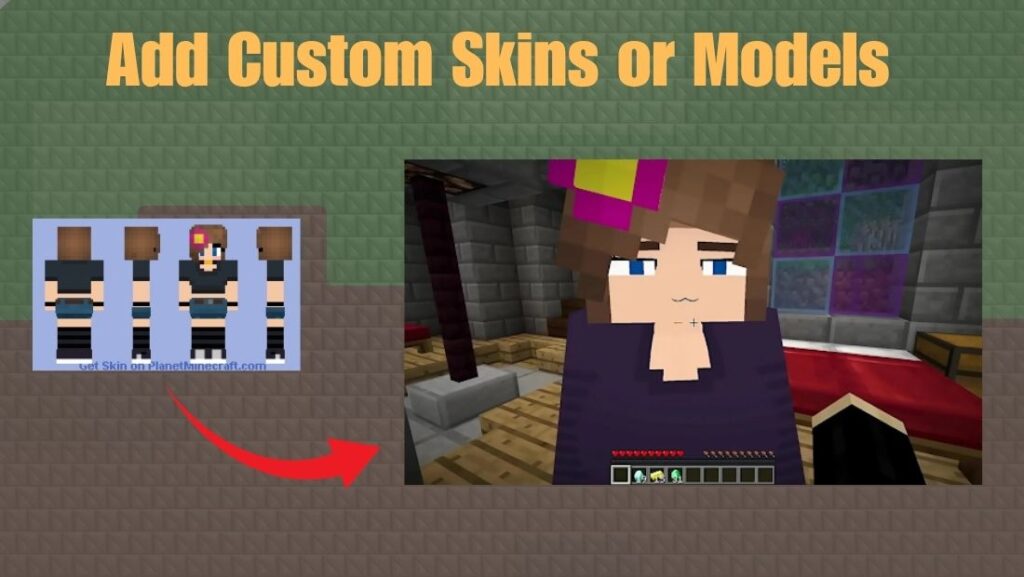
Add Custom Skins or Models

After you install Jenny Mod on Mac, you can add new visuals using:
This gives Jenny a new look and adds more variety to the game.
Tips to Keep Performance Stable
Allocate 4GB RAM minimum.
Use OptiFine with Forge for better FPS.
Avoid combining multiple animation-heavy mods.
If you want to play mods without switching devices, learning how to install Jenny Mod on Mac is the best solution. It keeps all your gameplay on one system and gives you access to the full mod experience without using Minecraft PE. This method ensures stability and lets you customize every part of the mod after you install Jenny Mod on Mac.
Minecraft Jenny Mod Rule key points
Use correct file names.
Keep skin resolution standard.
Align UV maps exactly.
Follow directory layout.
Honor character ID names.
Respect command syntax including girl wand.
These align with the rule documented in official Jenny Mod rule overview pages.
Summary
You now know how to install Jenny Mod on Mac step by step. You downloaded Java Edition, installed Forge, added the mod, and launched the game. This method is stable and beginner-friendly.
If you’re exploring adult or companion mods, the Ultimate Guide to Minecraft Girlfriend Mod is worth checking out.
